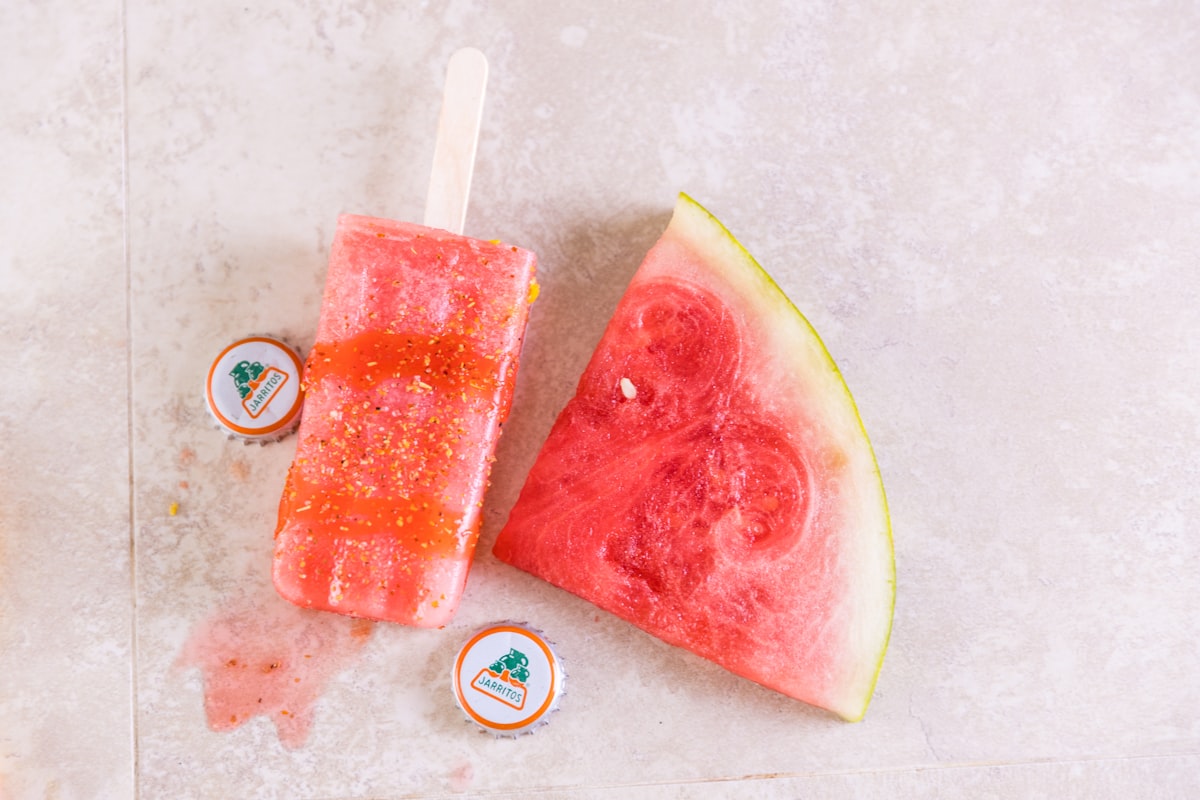
Social media does not have a great track record with dessert trends. But every so often something goes viral that actually works, and this summer's no-churn watermelon ice cream is one of those rare recipes worth the hype.
It started picking up steam in late June, hit Good Morning America and ABC News last week, and it's now filling up TikTok feeds under creators like Alexa Santos (@alexawhatsfordinner). The premise is almost too simple to believe: you freeze chunks of fresh watermelon, blend them, add sweetened condensed milk, and put it back in the freezer. The result tastes like a premium gelato. It's pink, it's creamy, and it's cold in a way that actually helps on a 95-degree July afternoon.
Why It Works
Regular homemade ice cream gets icy and grainy because of water crystals forming during the freeze. The fat in sweetened condensed milk interrupts that process. And watermelon, which is about 92% water, actually freezes cleaner than you'd expect because the natural sugars lower its freezing point. What comes out of the blender is smooth, not chunky.
You don't need an ice cream maker. You don't need to churn anything by hand. The machine does all the work, and the freezer does the rest.
The Basic Recipe
This is the version that's been circulating:
What you need:- 4 cups watermelon, cut into 1-inch cubes and frozen overnight
- 1/3 cup sweetened condensed milk
- Pinch of salt (optional but good)
Freeze your watermelon the night before. This step is non-negotiable. Fresh watermelon blended with condensed milk just makes a smoothie; you need the texture to come from frozen fruit.
The next day, pull the chunks out and let them sit on the counter for three to four minutes. They should be frozen solid but not rock-hard. If your blender can't pull them in, they're too cold. Give them another minute.
Add the watermelon and condensed milk to a blender or food processor. Blend until completely smooth. You'll need to stop and scrape down the sides once or twice. The mixture should look glossy and thick, a lot like soft-serve.
Pour it into a loaf pan or any container with a lid. Smooth the top, press plastic wrap directly onto the surface (this prevents freezer burn), and freeze for at least three hours before serving.
When you're ready to eat it, pull it out five minutes before scooping. It should come out clean.
The Variations Worth Trying
The base recipe is intentionally plain so you can build on it.
Lime zest and salt: Zest one lime into the blender before you blend, and add a healthy pinch of flaky salt on top when serving. The lime cuts the sweetness and makes it taste less like a kid's dessert. Tajin rim: Pour your scoops into a glass or cup, hit the rim with Tajin, and add a squeeze of fresh lime. This is the Mexican paleta direction, and it's excellent. Mint and black pepper: A handful of fresh mint leaves blended in turns this into something you could serve at a dinner party. A crack of black pepper on top sounds wrong and isn't. Coconut milk swap: Replace the condensed milk with full-fat coconut condensed milk for a dairy-free version. The flavor shifts slightly tropical, which works well with watermelon. Feta crumble: Cube watermelon is already a salad-plate classic alongside feta. A small amount of crumbled feta scattered on top of a scoop plays with that contrast in a way that's genuinely interesting.Scaling It for a Crowd
A small watermelon (about 10 pounds) gives you roughly 8 cups of cubed fruit once you've cut away the rind. That's two batches of this recipe, which gets you about 16 to 20 scoops depending on how generous you're being.
If you're making it for a party, scale up the fruit and keep the ratio at about 4:1 (cups of watermelon to condensed milk). The condensed milk is there for creaminess, but too much and the sweetness tips over into cloying. Stick close to the ratio.
This is where SnipDish's scaling tool saves you the math. Enter the base recipe, set your serving count, and it recalculates every ingredient automatically. It also keeps your Cook Mode on screen while you work so you're not unlocking your phone with sticky hands every 30 seconds.
A Few Things That Go Wrong
Ice crystals on top: Usually means you skipped the plastic wrap step or didn't seal the container. Next time press the wrap directly onto the ice cream surface before putting the lid on. Not scoopable after freezing: It froze too hard. Pull it out and let it sit at room temperature for 8 to 10 minutes instead of 5. A warmer kitchen may need a shorter freeze time total. Grainy texture: The watermelon wasn't frozen long enough, or the blender couldn't get the mixture fully smooth. If you have a lower-powered blender, add a tablespoon of milk to help things move. Too sweet: Scale back the condensed milk by a tablespoon and add a bigger pinch of salt. The salt perception trick works. Or go with the lime zest variation, which balances the sweetness without changing the texture.Timing It Right
The whole process requires about 10 minutes of active work spread across two days. Freeze the watermelon tonight and you can serve this tomorrow.
It keeps well in the freezer for up to two weeks, though it's best in the first four or five days before any ice crystals start forming on the surface. If you're planning for a gathering, make it two days out so you're not scrambling the day of.
Right now, in mid-July, watermelons are at peak season. The fruit is sweeter and more fragrant than it'll be in two months, which means the final ice cream has more flavor with less effort. This is the window.
Two ingredients, one night of patience, and you've got something genuinely worth making. That's the deal.
Save and scale this recipe in SnipDish. Cook Mode keeps the instructions on screen while you work.